
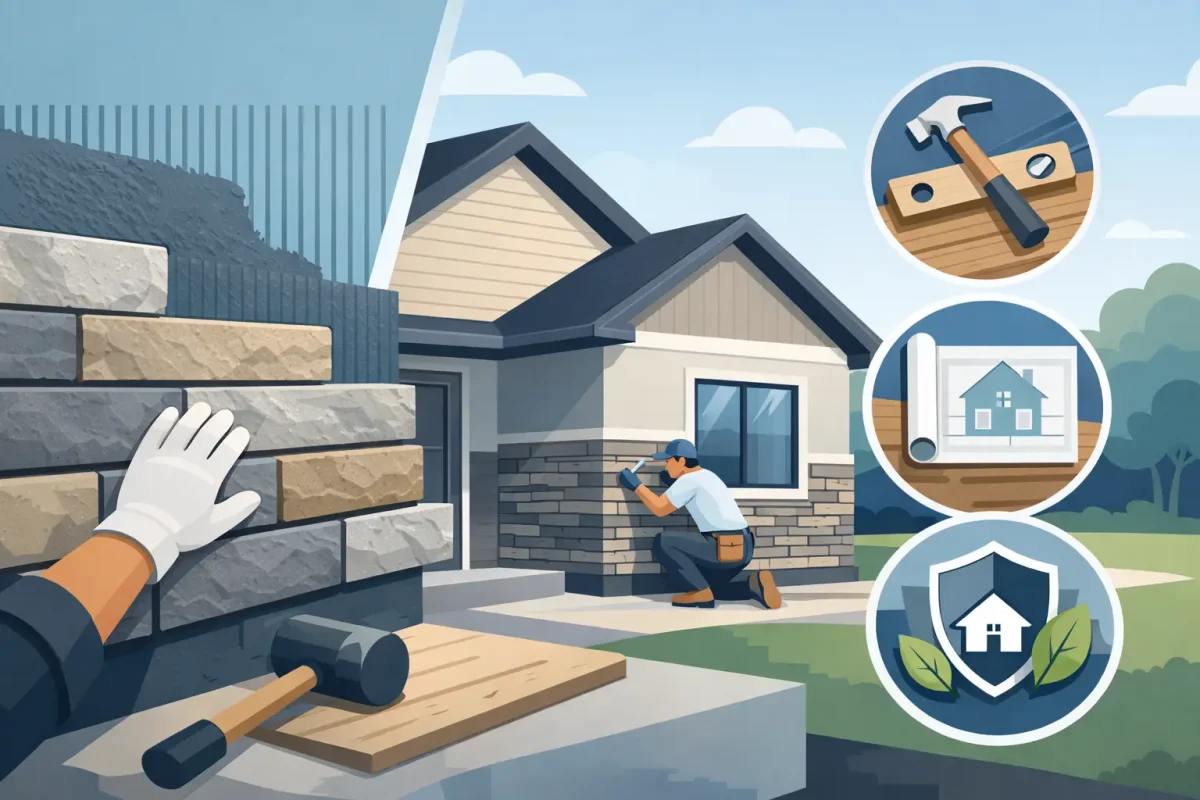
A stone accent should make a home look stronger, not create a hidden place for water to get in. That is why Versetta stone installation is more than fastening panels to a wall. The details behind the finished surface – the layout, flashing, drainage, trim, and transitions to siding or roofing – determine whether the upgrade performs as well as it looks.
Versetta Stone is a panelized stone veneer designed to deliver the character of masonry without the weight, lengthy installation time, or structural demands of full stone. It can be an excellent choice for a front entry, garage surround, chimney chase, exterior wall, or lower section of a siding project. For homeowners planning a complete exterior update, it also provides a clean way to add contrast and curb appeal without turning the project into a major masonry renovation.
Why Professional Versetta Stone Installation Matters
Versetta Stone panels are engineered for exterior use, but the wall behind them still has to be prepared correctly. A professional installer starts by checking the existing surface, looking for rot, loose materials, poor drainage, damaged sheathing, and other conditions that should be addressed before veneer goes on.
This matters because stone veneer can conceal problems temporarily. If the underlying wall has water damage or weak framing, covering it with new material does not solve the issue. It can make the repair more involved later. A proper inspection protects the investment and helps ensure the finished wall stays straight, secure, and weather-resistant.
The most visible parts of the job matter too. Panels need a balanced layout so cuts do not look random at corners, windows, and doors. Courses should remain level, joints should be consistent, and the stone color should be blended from multiple boxes for a natural appearance. These are the details that separate a polished exterior upgrade from a wall that looks pieced together.
Where Versetta Stone Works Best
Versetta Stone is often used as an accent rather than a full-home cladding material. A well-placed stone section can give a plain elevation more depth while keeping the overall exterior coordinated and manageable in cost.
Popular applications include entryway columns, garage fronts, bump-outs, gable walls, porch bases, chimney chases, and lower wall sections beneath siding. It also works well around covered entrances where homeowners want a more substantial, finished look. The right location depends on the architecture of the home, the amount of existing siding, and where stone will create visual balance instead of competing with every other exterior feature.
A full stone façade can be striking, but it is not always the best fit. On a smaller home, too much stone may feel heavy. On a home with aging siding, worn soffit and fascia, or failing gutters, the smarter decision may be to coordinate several exterior upgrades at once. New stone next to faded siding or bent eavestroughs can make the older components stand out for the wrong reasons.
What a Proper Installation Process Looks Like
The process begins with an on-site assessment and a clear plan for the wall. The installer confirms the product selection, stone profile, color, coverage area, corner treatment, and transitions to nearby materials. Measurements are taken carefully so the quote accounts for accessories, trim, cuts, and the prep work needed for a durable result.
1. Inspecting and Preparing the Wall
Old cladding may need to be removed, depending on the substrate and the scope of the project. The wall surface must be sound, clean, and appropriate for the installation system. If damaged sheathing, moisture issues, or framing concerns are found, those should be repaired before the stone panels are installed.
Preparation also includes confirming that the wall has proper weather protection behind the veneer. Water-resistive barriers, flashing, and drainage details are not optional extras. They are the components that direct water away from vulnerable areas and help protect the structure over time.
2. Installing Flashing and Starting Details
Flashing is one of the most important parts of any exterior cladding project. It is installed at critical transitions, including around windows, doors, roof-to-wall intersections, horizontal breaks, and other locations where water can collect or move behind the finished surface.
A starter strip at the bottom of the wall helps support and align the first course of panels. Installers also allow for required clearances above grade, roofs, decks, and paved surfaces. Skipping these details may not be obvious on day one, but it can affect drainage, durability, and warranty coverage.
3. Setting Panels, Corners, and Cuts
Panels are typically installed from the bottom up, with a planned pattern that avoids distracting vertical seams. Corner pieces are installed to create the depth and finished appearance associated with traditional stonework. Fasteners must be placed correctly and driven securely without damaging the material.
Cuts are unavoidable around openings, electrical fixtures, hose bibs, and transitions. They should be measured precisely and positioned thoughtfully. Good installers plan cuts so the most visible areas look intentional, not improvised.
4. Finishing Transitions and Cleaning Up
The final stage includes installing trim details, checking the alignment of courses, sealing or addressing approved transitions where required, and cleaning the work area. The job should end with a walkthrough so the homeowner can review the completed stonework, ask questions, and understand what was installed.
A professional crew should also protect landscaping, windows, walkways, and nearby finishes during the work. Exterior renovation is disruptive enough without leaving behind scattered debris, damaged plants, or a driveway full of material scraps.
The Details That Prevent Water Problems
Stone veneer itself is only one layer of the wall assembly. The real protection comes from the system behind and around it. Proper flashing above windows and doors, correctly integrated weather barriers, and well-finished transitions to siding, roofing, and trim all help keep water moving where it belongs.
This is especially important where materials meet. A stone accent wall may connect to vinyl siding, fiber cement, aluminum trim, roofing, or a porch roof. Each transition has different needs. The installer should not rely on caulk alone to solve a design or drainage issue. Caulk can support a properly detailed assembly, but it is not a substitute for flashing and correct installation methods.
Homeowners should also consider areas near downspouts, roof valleys, and ground-level splashback. If water regularly pours against the same wall, the exterior needs a drainage plan before stone is installed. Repairing or replacing eavestroughs and downspouts may be part of protecting the new finish.
Choosing a Stone Style That Fits Your Home
Versetta Stone is available in profiles and colors that range from traditional fieldstone looks to cleaner, more contemporary styles. The best choice should complement the roof color, siding tone, trim, and front door rather than match one element too closely.
Warm, mixed-tone stone often suits traditional homes and homes with brown, bronze, or charcoal roofing. Cooler gray blends can work well with modern exteriors, black accents, and crisp white trim. Before making a final choice, view larger samples outdoors. Sun, shade, landscaping, and neighboring materials can change how a color reads from the street.
It is also wise to keep future maintenance in mind. A very light stone installed close to soil or heavy splash zones may show dirt more quickly. A textured, varied blend can be more forgiving in high-traffic or weather-exposed areas.
When to Combine Stone With Other Exterior Work
Versetta stone installation is often most efficient when planned with siding replacement, soffit and fascia work, roof repairs, new gutters, or window and door upgrades. Coordinating work can reduce repeated setup, prevent newly installed materials from being disturbed later, and produce a more consistent finished appearance.
For example, if siding is nearing the end of its service life, installing a stone accent now and replacing the siding a year later may require transition work to be revisited. If gutters are overflowing onto the proposed stone wall, addressing drainage first protects the new installation from staining and unnecessary water exposure.
That does not mean every stone project needs to become a full exterior renovation. A focused entryway upgrade can still deliver a major improvement. The right scope depends on the condition of the surrounding exterior and the homeowner’s priorities.
A Better Way to Plan Your Stone Upgrade
Before choosing a color or profile, start with the wall itself. Ask whether it is dry, structurally sound, and properly detailed for the new veneer. Then look at the exterior as a whole: roofing, siding, gutters, trim, windows, and the areas where water moves around the home.
A stone accent should add confidence every time you pull into the driveway. With the right material plan and an experienced exterior contractor handling the installation details, it can do exactly that while helping protect the home behind it.
1 September 2026
What Does Soffit Ventilation Do for Your Home?

1 September 2026